
How to Build a Wildlife Pond in a Small Garden
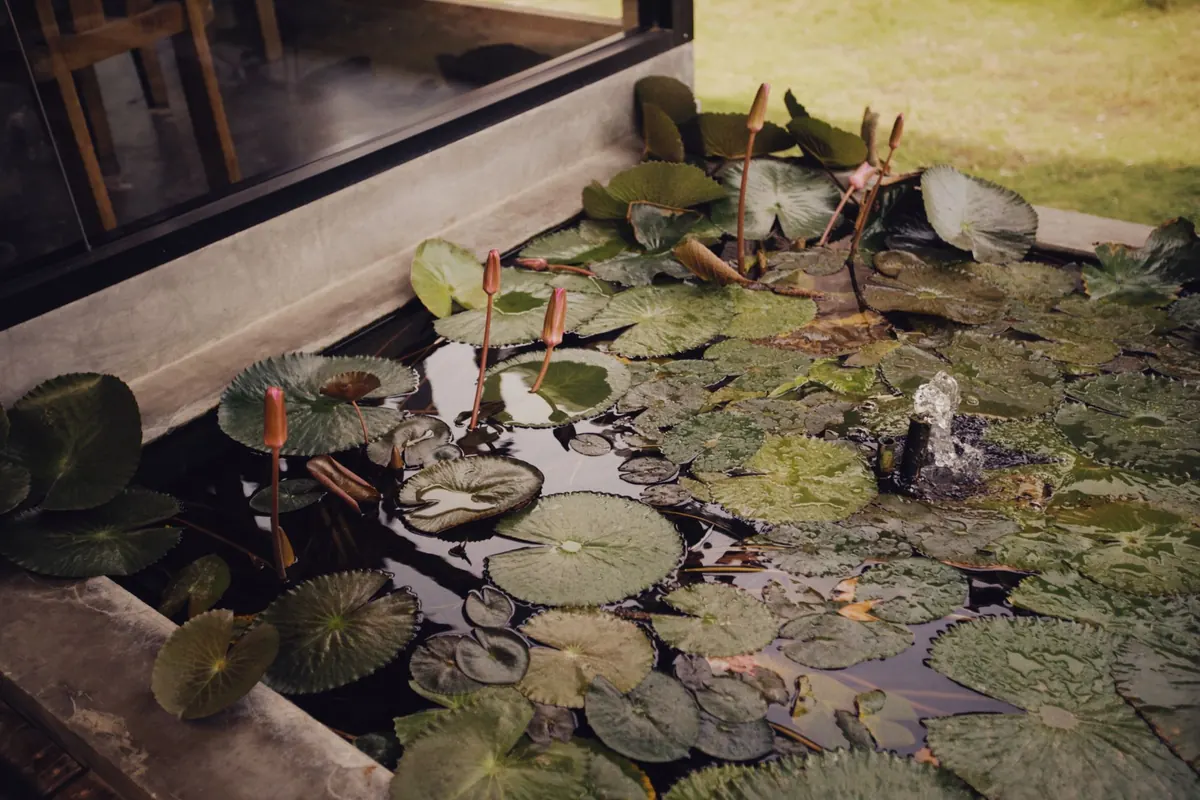
A pond does more for garden wildlife than almost anything else you can add. Even a modest one — a metre or so across and half a metre deep — gives frogs somewhere to breed, dragonflies somewhere to hunt, and birds somewhere to drink and bathe. You do not need a large garden or a large budget. You need a level patch of ground, a flexible liner, a few native plants, and the patience to let things look a little untidy.
Getting the details right at the start saves a lot of fiddling later. Site matters more than size, and the edges matter more than the fancy planting.
Choosing Where to Put It
Most pond plants and the creatures that use them want sun for at least half the day, so aim for an open spot that catches the morning light. Full shade slows plant growth, which leaves the water short of oxygen and prone to algae.
Keep clear of trees and large shrubs. Roots can push through a liner, fallen leaves rot down and feed blanketweed, and a dense canopy drops debris all year. A spot beside a hedge, a log pile or a patch of long grass is ideal: frogs need damp cover nearby, and they will find a pond much faster if they can approach it without crossing open, dry ground.
Avoid the lowest point of the garden if it collects run-off. Water draining off a lawn or border brings nutrients and any garden chemicals with it, and both cause problems. Leave a metre or two between the pond and any fence or building so you can reach the far side for planting and clearing. And if you can see the pond from a kitchen window or a favourite seat, you will notice far more of what visits it.
Sizing, Shape and Depth
In a small garden, a pond of roughly 1.5 metres by 1 metre feels generous. Mark the outline with a rope or hosepipe and make it irregular — curves and a wavy edge look natural and give wildlife more varied water to use.
Depth is what gets a small pond through winter. Aim for 45–60cm at the deepest point, which gives frogs and other creatures somewhere to sit below the ice. Include a shallow shelf about 20–25cm deep for planting baskets, and let one side slope gently up to the rim so anything that falls in can walk out again.
Dig the shelves wide enough to sit a planting basket on comfortably, and check the level of the rim as you go by laying a straight plank across the hole with a spirit level on top. A pond that is out of level shows a band of bare liner on one side and looks wrong from every angle. Keep the turf you lift; it will hide the liner edge later.
Liners, Underlay and Filling Up
For a small pond, a butyl or EPDM rubber liner is the sensible choice. Both are flexible, so they follow an irregular shape and any shelves you have dug, and both last far longer than cheap PVC, which turns brittle and cracks. Preformed rigid liners are fine for very small ponds and are quick to install, but they limit you to one shape and depth.
Work out the size you need before ordering: take the longest length, add twice the maximum depth, then add at least 60cm for the overlap round the edges. Do the same for the width.
- Line the hole with underlay — geotextile fleece, old carpet or a layer of soft sand. Remove sharp stones and roots first; a puncture now means a leak later.
- Drape the liner in loosely. Fold it into neat pleats rather than cutting it to fit.
- Weigh the edges down with bricks or smooth stones, then start filling.
- Fill slowly with rainwater from a water butt. The weight of the water pulls the liner into every corner, so keep adjusting the pleats as the level rises.
- Once full, trim the liner, leaving a good 30cm overlap all round, and tuck it under turf, soil and stones.
Tap water will do at a pinch, but it carries nutrients and chlorine that feed algae, so rainwater is worth the extra effort. Resist the temptation to add fish. Even a couple of goldfish will clear tadpoles, larvae and most of the insects you were hoping to attract.
Native Plants Worth Their Space
Plants do the filtering, the oxygenating and most of the hiding places. Native species support far more insects than exotic ones, and they tend to settle in without mollycoddling.
- Oxygenators: hornwort and water starwort, both happy in small ponds and easy to thin out.
- Marginals: marsh marigold, water forget-me-not, ragged robin, cuckooflower and lesser spearwort. Yellow flag iris is lovely but vigorous, so keep it in a basket.
- Floating leaves: a compact waterlily. Native Nymphaea alba is far too big for a small pond, so choose a small cultivar and keep it in a basket.
Plant in baskets lined with hessian, using garden soil or loam rather than potting compost, which is far too rich. Top each basket with gravel so the soil stays put, and stand them on the shelves. Aim for roughly a third to a half of the surface covered once the plants have grown.
Avoid invasive non-natives such as floating pennywort, parrot's feather, water fern and Canadian pondweed. Never tip out an aquarium or a pond from elsewhere, and never move frogspawn between ponds — it spreads disease.
Edges That Let Wildlife In and Out
This is where most small ponds fail. A steep, smooth liner is a trap for anything that falls in. Build in at least one easy exit:
- A shallow beach of pebbles at one end, sloping into the water.
- A ramp of rough stones or gravel in one corner.
- A piece of log or thick branch angled from the water to the bank.
- Overhanging marginal plants, which give cover at the water's edge and a foothold for insects emerging from the water.
Birds need a shallow ledge, no more than a couple of centimetres deep, to bathe and drink safely. Frogs and hedgehogs need the same sort of easy route, so keep a stone pile or a small log stack near the pond for shelter and somewhere to hibernate.
If there are toddlers about, a pond is a hazard whatever its size. A sturdy metal grid fixed just below the surface, or a raised pond with a wide, solid lip, makes things safer, but constant supervision is still what matters. Ask a professional if you want advice on a design that works for young children.
Living With It Through the Year
A new pond usually goes green within a fortnight, then clears as plants and microscopic life settle in. Do not empty and scrub it; that destroys the balance you are trying to build. Top up in dry spells with rainwater, net out fallen leaves in autumn, and thin crowded oxygenators in late summer by pulling out a few handfuls.
Keep fertilisers, weedkillers and insecticides well away from the water and the surrounding beds. Leave seed heads and dead stems standing over winter, because insects use them, and let a corner of the garden stay long and scruffy. Frogs will find a new pond on their own; you do not need to bring them in.
Let It Settle, Then Leave It Alone
Build the pond in spring or early autumn, when the soil is workable and plants establish quickly. Fill it, plant it, tidy the edges, then give it a few weeks before deciding whether it looks right. The point at which it starts to look slightly neglected is usually the point at which it starts to work.
After that, the job is mostly watching: a dish of rainwater in dry weather, a net in October, a bit of thinning in August. Everything else — the frogs, the damselflies, the blackbirds queuing on the pebble beach — turns up on its own.
Photo: Alexey Demidov / Pexels